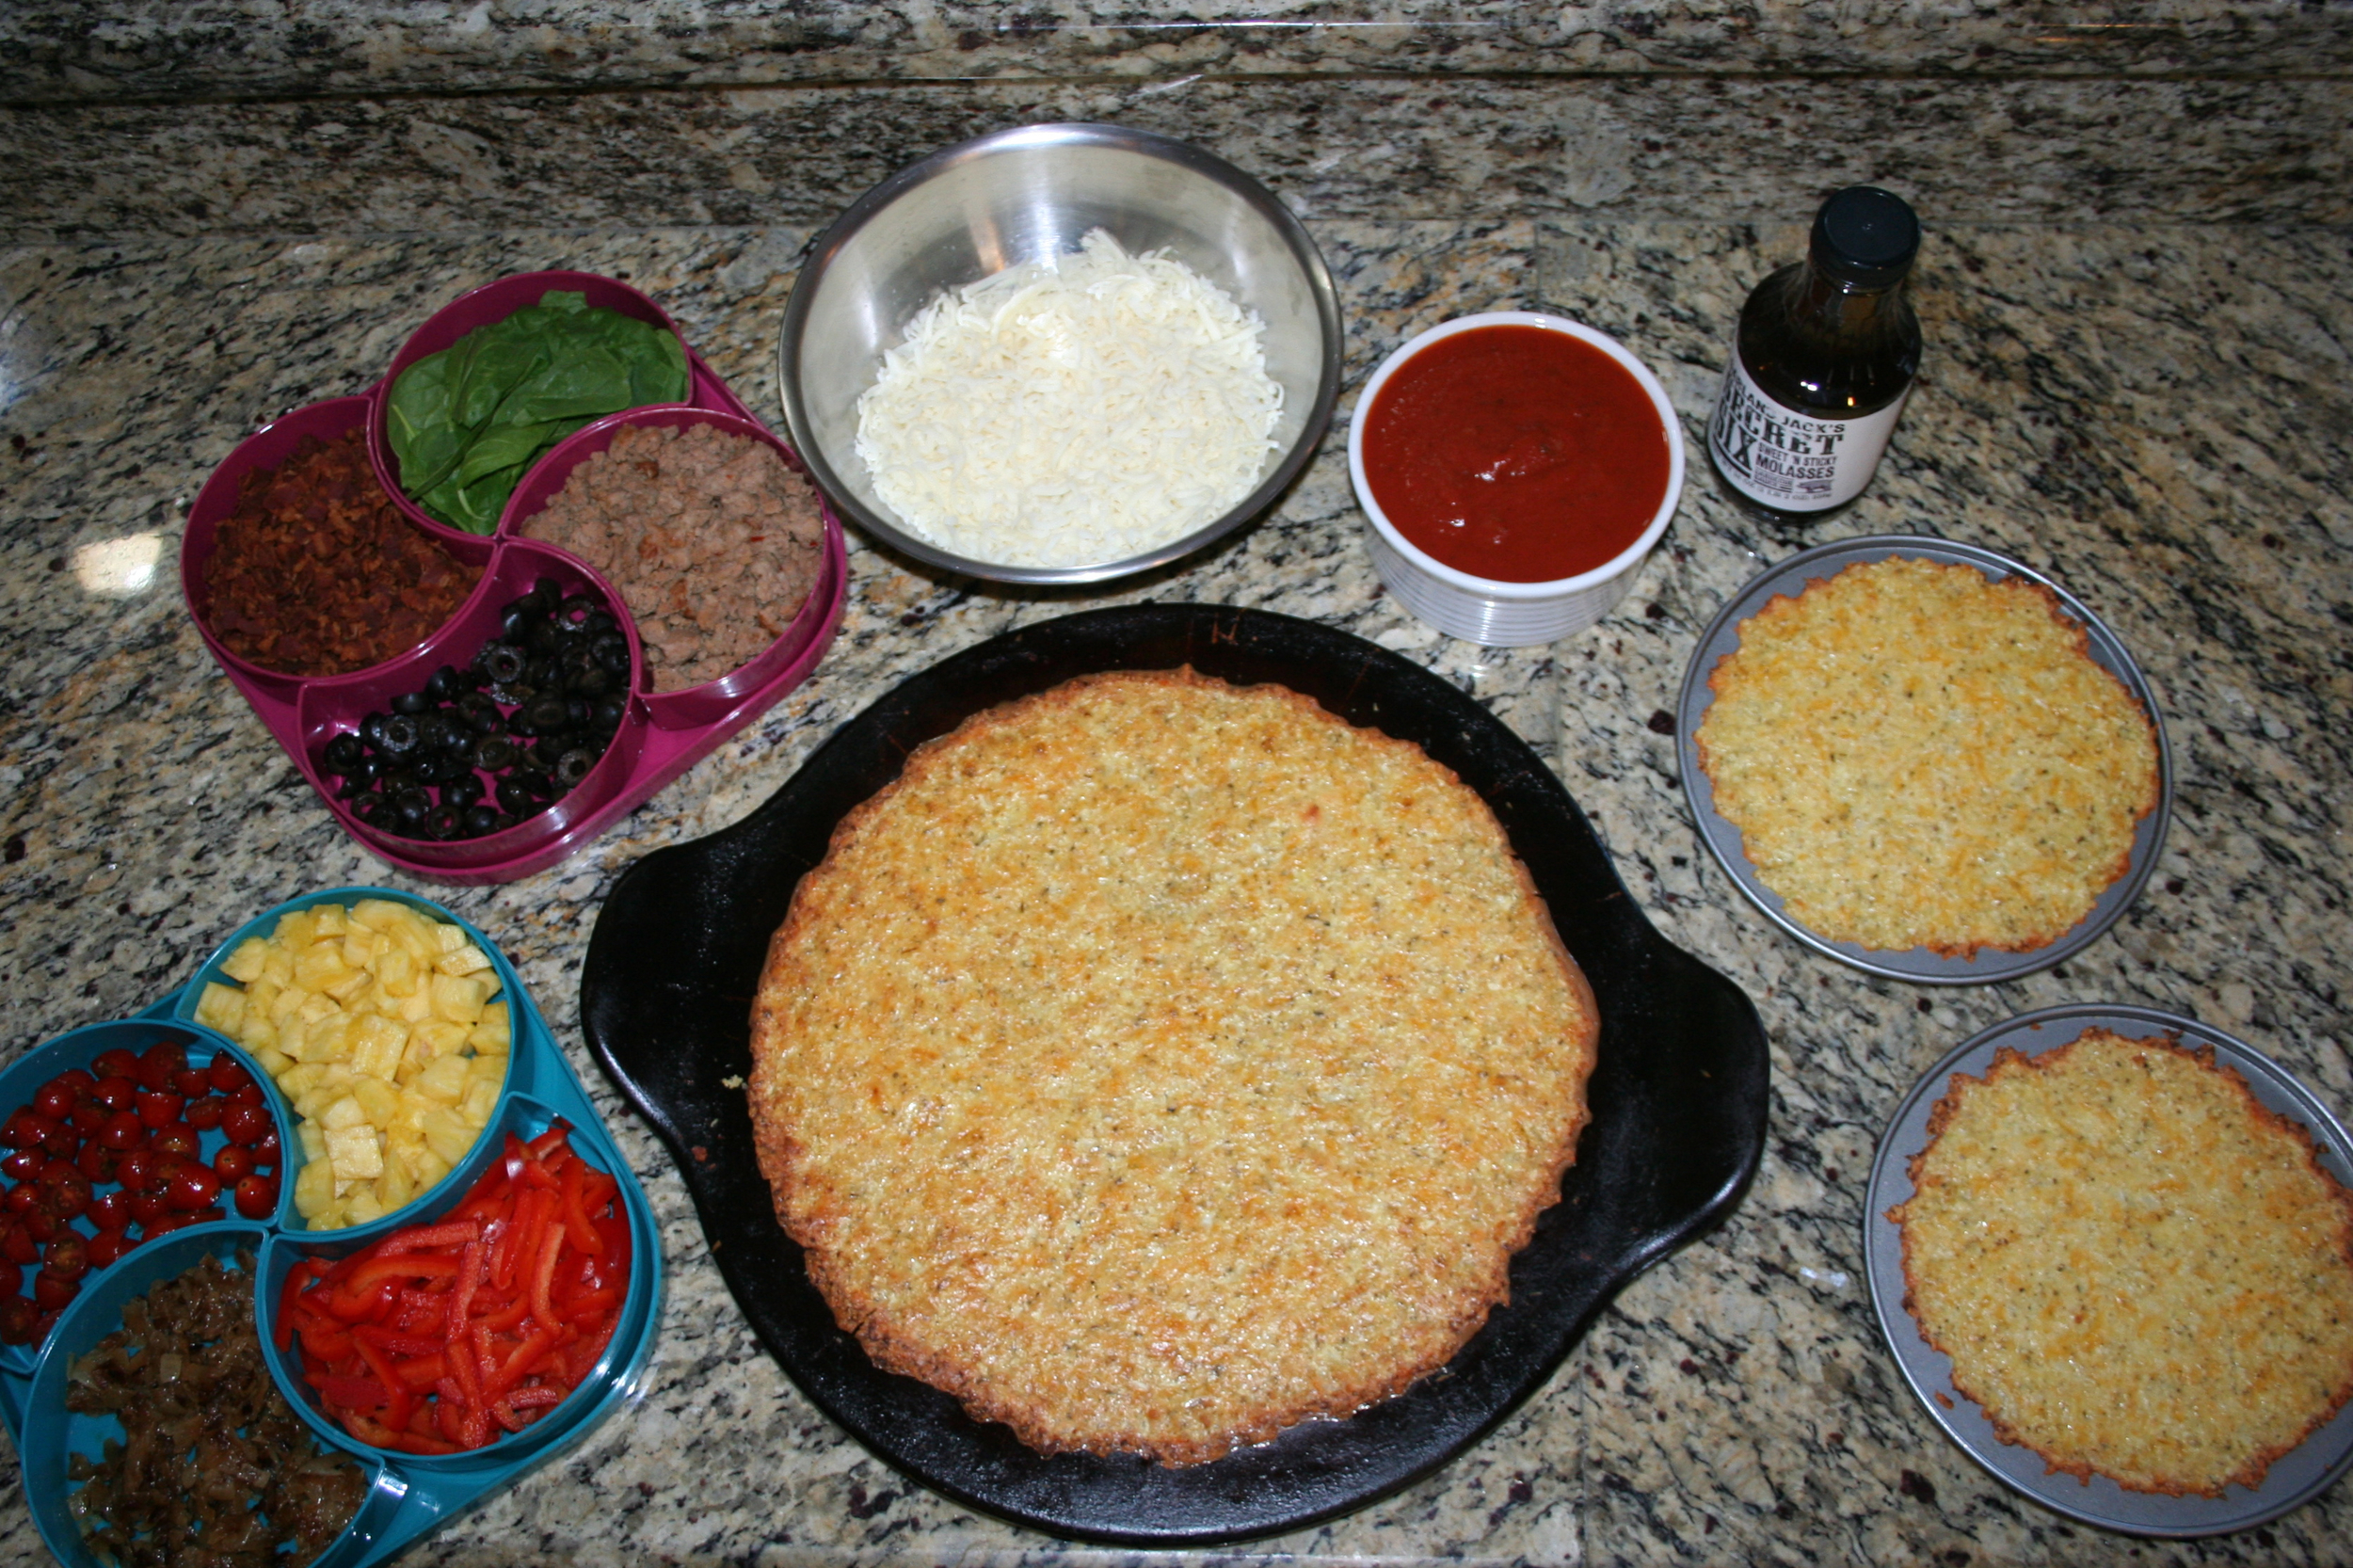
Caprese Salad with Roasted Asparagus

Caprese salad is one of my (and my family's) favorite side dishes. I'm pretty sure I could serve it every day, and no one in my house would be disappointed. But I like variety way too much to do that, so I cut it back to just 3 times a week.

Just kidding.

But I do make it often enough to need more than one version, so here is one of my favorite variations. I love this version for lots of reasons, but mainly because it increases the nutritional value quite a bit and also because it is a great way to serve (expensive) indulgent asparagus without needing much of it. Enjoy!

Ingredients:

8 oz. fresh mozzarella

1 pint grape tomatoes

1/2 pound fresh asparagus

3-4 tablespoons olive oil

2 cloves garlic, finely minced

healthy handful fresh basil

salt and freshly ground pepper to taste

balsamic glaze to taste

Instructions:

1. Preheat oven to 350 degrees.

2. Cut asparagus into 1-1/2 inch segments. Place on baking sheet, drizzle with olive oil, season with salt and pepper, and toss to coat. Bake at 350 for 15 minutes or until nicely browned. 

3. While asparagus is cooking, cut tomatoes in half and toss into serving bowl. Cube mozzarella and add to bowl.

4. Brown garlic in 2-3 tablespoons olive oil. (Watch carefully as it tends to burn quickly once browning has begun.) Set aside to cool.

5. Remove asparagus from oven and allow to cool slightly. 

6. Tear basil into bite-size pieces and add to salad. Add cooled asparagus. Drizzle garlic-infused oil (including garlic) over top. Salt and pepper to taste. Drizzle with balsamic glaze to serve.

Simple, delicious, and so pretty! :-)

London Broil with Basil Butter

I have a weird confession. There's a strange little glee that happens in my heart when I have a big piece of red meat marinating in the fridge. Especially if I have the patience to leave it there for a day or two. The anticipation! It's like waiting for Christmas morning! So good. This is just such a recipe. And I love it.

IMG_8674.jpg

Ingredients:

1 stick butter, softened (Don't get nervous. You won't actually eat all of this in this recipe, but just stay with me.)

1-1/2 teaspoons sweet basil paste, divided

2-3 pounds London Broil (flank steak)

1/4 cup pineapple juice

1/2 cup Burgundy cooking wine

1/4 cup olive oil

1-1/2 tablespoons Worcestershire sauce

1-1/2 tablespoons soy sauce

1 clove garlic, minced

1 teaspoon Tony Chachere's seasoning

1 splash Sriracha

1 teaspoon salt

1/2 teaspoon freshly ground black pepper

1. Mix softened butter with 1 teaspoon basil paste. Place onto piece of plastic wrap, roll up and secure ends. Place in freezer to become firm.

2. Place London Broil into shallow baking dish. Mix together all remaining ingredients and pour over meat. Cover and refrigerate for at least 8 hours, but preferably 24+. Flip meat in marinade occasionally.

3. When ready to cook, remove meat from marinade and pat dry with paper towel.

4. Add marinade to small sauce pan and bring to a boil to thicken. (Never serve marinade that has had raw meat in it unless it has come to a full boil.)

5. Melt a coin of previously prepared basil butter in cast iron pan over medium-high heat. Sear steak on both sides for 3-5 minutes depending on desired doneness and thickness of steak. 

6. When meat is cooked through, remove to cutting board and allow to rest for 5-10 minutes.

7. After resting, slice against the grain. Place several coins of basil butter on top and drizzle with reduced marinade to serve.

***I served this with wilted spinach and cauliflower hash. While we were eating, I noticed that Grace hadn't touched anything else on her plate. I said, "Grace, do you not like the cauliflower hash?" And she responded, "This steak is so delicious, I forgot all about it." :-D So there you go. Family approved.


Raw Summer Salad with Mozzarella and Bacon

Simplicity is a beautiful thing. And this is about as simple as it gets. You can throw it together in minutes, and it works as a side dish for almost anything or even as a complete light lunch. Also, it is one of the most versatile dishes ever. I am listing below the ingredients I used, but honestly you could use any combination of your favorite veggies and cheese and even throw in some nuts and seeds if you like. The key to this salad (in my opinion) is to have plenty of crunch in the veggies you choose, and don't skip the dressing. It's just the right amount of sweet, tart and creamy for all those veggies. Enjoy!

Ingredients:

1 broccoli crown, cut into bite-size pieces

1 small head of cauliflower, separated into bite-size florets

1/2 lb. coarsely chopped portabella mushrooms

1 large orange (or red or yellow) bell pepper, stem and seeds removed and coarsely chopped

6 oz. mozzarella, freshly grated

1/2 lb. bacon, diced and fried very crispy (Dicing the bacon before cooking helps it to cook more evenly and become more crispy, but you could certainly just crumble leftover strips if that's what you have.)

3/4 cup light mayonnaise

2 tablespoons powdered stevia

1 tablespoon apple cider vinegar

salt and pepper

Instructions:

1. Combine all veggies in large bowl and toss together.

2. Sprinkle cheese and bacon bits over top.

3. Combine mayonnaise, stevia and vinegar and whisk to combine. Salt and pepper to taste. Drizzle a bit over top of salad, reserving some to the side for those who would like to add a bit more.

4. Toss and serve while everything is nice and crisp.

***Suggestions for other great veggie additions include fresh carrots, cucumbers, sugar snap peas, edamame, and grape tomatoes. (I would avoid chopped tomatoes or canned vegetables since they tend to add too much moisture.)

Dirty "Rice" with Spicy Shrimp

Yeah, we're not making rice. Too many carbs. ;-) But at least it isn't quinoa this time for those of you who are sick of hearing about that. It's my other favorite food crush: cauliflower! (To be clear, quinoa and cauliflower are some of my food crushes mainly because they are just so helpful in keeping me happy without so many carbs in my life. If you wanna talk true love, we'll have to discuss chocolate and bacon and things like that, but that will be a discussion for a different day. :-D)

Anyway--riced cauliflower. Have you ever tried this? You should. I submit that not only is it a much healthier option than white (or even brown) rice, it honestly tastes better than rice to me if prepared correctly. And I would never lie to you about something like this. Ever.

Ok. Dirty Riced Cauliflower with Spicy Shrimp. Y'all hungry? Let's do this.

Ingredients:

1 medium head cauliflower, riced (just do a rough chop and process in a food processor)

coconut oil for coating pan

1 chicken bouillon cube

dash cayenne pepper

1/2 teaspoon paprika

1/2 teaspoon thyme

1 teaspoon garlic paste

splash of Sriracha (optional)

1 onion, diced

1 green bell pepper, diced

1 clove garlic, minced

1 pound lean ground beef

Tony Chachere's seasoning to taste

1 pound shrimp, peeled and deveined

chopped green onions for garnish

Instructions:

1. Warm just enough coconut oil to coat the bottom of a pan over medium heat. Add bouillon cube and stir until melted. Add riced cauliflower, cayenne pepper, paprika and thyme, and stir until cauliflower begins to soften.

2. Meanwhile in separate (larger) pan over medium heat, saute onion, garlic, green pepper and celery in just enough coconut oil to coat bottom of pan.  Once vegetables have softened, stir in ground beef and cook until fully browned. Drain and return to pan.

3. Stir garlic paste, Tony Chachere's and Sriracha (if desired) into cauliflower mixture and stir until garlic paste has completely melted into the mixture.

4. Dump cauliflower mixture into ground beef mixture and toss together until well-combined. Turn heat to low and keep warm.

5. In the same pan that you used to cook the cauliflower mixture (you might just want to give it a quick wipe with a paper towel if needed), warm just enough coconut oil to coat bottom of pan and add shrimp. Cook until pink and firm, tossing a few times to make sure all sides are cooked. Season to taste with Tony Chachere's seasoning and a Sriracha (if desired).

6. To serve, pour entire cauliflower/beef mixture onto a platter and layer shrimp over the top. Garnish with chopped green onions

Baked Eggs in Quinoa with Mock Mole Sauce and Queso Fresco

Did you just roll your eyes because I'm talking about quinoa again? You did, didn't you? I can't help it. It's pretty much my food crush. But listen! I have good reasons! I mean, besides the fact that it's delicious and so good for your body (which should really be enough), it's also so amazingly versatile! You can use it in breakfast, lunch, dinner, dessert, whatever, and you can make it taste a million different ways with just a few ingredients. So really you should probably get used to hearing about it, 'cause I've only given you like 4 recipes so far, which means I have at least 999,996 more to go. So. ;-) 

Oh, but also, I should tell you why I'm calling this "mock" mole sauce. It's because I've been told that a good, authentic mole takes hours to make. I'm not sure if that's true or not, but I'm not pretending to be some awesome little Mexican grandmother who has slaved over her stove top all day long. I just think this tastes an awful lot like many of the mole sauces I've tasted. But it is actually pretty quick and easy to make, so I'm calling it "mock mole" out of respect. Taste it and see what you think. 

Ingredients:

2 cups pre-cooked quinoa 

1 small jar chopped green chiles

1 medium onion, diced

1 clove garlic, minced

coconut oil for coating pan

1 teaspoon garlic paste

4-6 eggs

3 white onions, quartered

4 plum tomatoes, quartered

3 cloves garlic, peeled

2 anaheim peppers, stems and seeds removed

1 can chipotle peppers in adobo sauce (these are quite spicy, so feel free to use less than the whole can or substitute mild green chiles or something along those lines if you don't like the heat)

1 teaspoon chili powder

1 teaspoon unsweetened cocoa powder

2 cups chicken stock

1 lime, juiced and zested (always smart to zest first)

Instructions:

1. Start by preparing the mole sauce. Raise oven rack to highest position and preheat oven to broil. Put quartered onions, tomatoes, whole garlic cloves and anaheim peppers on sheet pan and spray with olive oil or coconut oil. Broil until all vegetables are bubbly and tomatoes begin to blacken, stirring at least once. (Watch closely as this process happens fairly quickly, but don't be afraid of some black edges. That means flavor.)

2. When nicely charred, remove veggies from oven and allow to cool for 5-10 minutes. 

3. While these veggies are cooling, in an oven-safe skillet (cast iron would work perfectly), begin caramelizing chopped onions in coconut-oil coated pan over medium heat.

4. Dump broiled veggies into blender or food processor. Add chipotle peppers in adobo sauce and blend until smooth. Transfer mixture to a sauce pan. Add chili powder, cocoa powder and chicken stock and cook over medium heat for about 20 minutes, stirring occasionally.

5.When onions are nice and brown, add minced garlic and green chiles and cook until fragrant. (This smells so crazy, I kind of just wanna eat it with a spoon. But please don't do that.) 

6. Preheat oven to 350 degrees.

7. Add cooked quinoa and garlic paste to onion mixture and stir until all ingredients are well-combined. Spread quinoa mixture evenly over the bottom of the pan, then make a "well" in the quinoa for each egg. Carefully break one egg into each well and sprinkle each with salt and pepper. Bake in 350 degree oven for 15-20 minutes or until eggs are set but yolks are still runny.

8. Add lime zest and lime juice to sauce and stir to combine flavors. Salt and pepper to taste.

9. Serve by plating each egg with a nice bed of quinoa. Drizzle mock mole sauce generously over the top and crumble over some queso fresco. Yum!

Scotch Eggs with Dijon Cream Sauce

Well... Not exactly Scotch eggs. Because I baked them instead of deep frying them. But I don't think you'll mind. These are utterly delicious. After one bite, both of my daughters declared these their new favorite food/birthday meal for the rest of life. Alright then.

Ingredients:

4 eggs

1 pound homemade chorizo

2 eggs, beaten

1 cup seasoned bread crumbs

1 cup crushed crispy fried onions

2 Tablespoons butter

1 Tablespoon coconut flour

3/4 cup milk (any kind--I used 1%)

1/4 cup shredded Parmesan

1 generous Tablespoon of your favorite mustard--I used horseradish

splash of Sriracha

salt and freshly ground pepper to taste

Instructions:

1. Soft boil eggs any way you like. My favorite method is to bring to a gentle boil. As soon as they are boiling, remove from heat, cover and let sit for 2 minutes. After 2 minutes, dump hot water and submerge in cold water. Continue to dump and replace water as it will warm up from the heat of the eggs and pot. Once the eggs are nice and cool, they are ready to be peeled.

2. Preheat oven to 350 degrees. Create prep station by putting beaten eggs in one dish and mixing bread crumbs and crushed onions in second bowl.

3. Wrap each egg in a layer of chorizo, taking care to seal any seams so they won't fall apart while cooking.

4. Dip each wrapped egg into egg wash and then bread crumb mixture and place into seasoned or sprayed oven-proof dish. (Cast iron works great for this, but any metal or glass pan would be fine as well.)

5. Bake at 350 degrees for about 30 minutes or until golden brown and cooked through.

6. While eggs are baking, prepare sauce by melting butter in pan on stove top. Add coconut flour and stir until well incorporated and browned. Add milk, Parmesan and mustard and stir until all is well-incorporated. Add Sriracha, salt and pepper. Taste and adjust as you like.

Quinoa Cakes with Garlic-Sriracha Sauce

So... Quinoa. I talk about this stuff a lot, because I pretty much have a crush on it. It's kind of perfect. You can use it a million different ways and come up with all kinds of creative ideas for replacing much less nutritious ingredients like rice, pasta and flour in some of your favorite dishes.

But. You either like it, or you don't. I get it. As my youngest daughter so profoundly said when she was just a tiny little munchkin, "You can't just decide to like something. Your tastebuds have to change or something." Indeed. That's true. Mostly.

But. (Yes, another but.) Even if you don't love it on its own, I do think there are ways to prepare it surrounded by other deliciousness in such a way that you will enjoy the final product. This is one of my favorite recipes for converting non-quinoa lovers. It works almost every single time. I love that. :-) 

The other thing I love about this recipe is that I've made it at least a dozen different ways with different combinations of cheeses, diced veggies, herbs and spices (and sometimes even a protein or two), and it is delicious every time. Today's combination went something like this:

Ingredients:

1 cup pre-cooked quinoa (Any kind is fine, but my favorite is red quinoa prepared with low sodium chicken broth.)

coconut oil for coating pan

1 medium onion, diced

1 clove garlic, finely minced

1 teaspoon garlic paste, divided

1/4 cup freshly shredded mozzarella

1/4 cup shredded Parmesan

1/4 cup cream cheese, softened

1/3 cup goat cheese

1 egg, lightly beaten

1 Tablespoon coconut flour

2 teaspoons freshly ground pepper

1 teaspoon fresh basil, finely chopped

salt to taste

1/4 cup light mayonnaise

1/4 cup light sour cream

generous splash of Sriracha

1 teaspoon lime juice

1/2 teaspoon basil paste

salt and pepper to taste

Instructions:

1. Cook diced onion in coconut oil on medium heat until it begins to caramelize. Add garlic and continue cooking until garlic is fragrant.

2. In medium bowl, combine quinoa, onion and garlic, 1/2 teaspoon garlic paste, all cheeses, egg, coconut flour, basil, salt and pepper. Mix well and form into patties.

3. Place patties on parchment paper-lined plate, and freeze for at least an hour. ***This is an important step as cakes will melt too quickly and not hold their shape if you try to pan-fry them before freezing.

4. While the quinoa cakes are firming up in the freezer, prepare sauce by combining mayonnaise, sour cream, lime juice, Sriracha, basil paste and salt and pepper.

5. Once cakes are nice and firm, heat coconut oil in medium-hot pan and fry each cake on both sides for 3-4 minutes. They should be crisp and brown on the outside and perfectly cheesy and gooey on the inside.

6. Serve on a beautiful bed of greens as a salad or as a stand-alone side dish to just about any meal. And don't forget the sauce! 

Stuffed Pork Loin

I'm just gonna let the picture speak for itself on this one. Mercy. (But one note: This is much easier to make than it might look, so it could be a great way to impress someone. Don't be scared. ;-)

Ingredients:

6 boneless pork loin chops

Olive oil, for coating pan

2 cloves garlic, minced

1 medium onion, finely diced

1 heaping tablespoon garlic paste

4-6 sundried tomatoes, chopped

2-3 handfuls fresh baby spinach

salt

freshly ground pepper

1/2 teaspoon dried basil leaves

1/4 cup goat cheese

1/4 cup cream cheese

Instructions:

1. Coat a skillet with olive oil and cook onions low and slow until nicely caramelized.

2. While onions are cooking, create a pocket in each piece of pork by cutting a slit into the side of each loin, being careful not to cut all the way through. Generously coat the inside of each loin piece with garlic paste. (And don't try to be dainty about it. It's messy business. Just get in there and go for it. The added flavor will be worth it. I promise.)

3. Once onions are nicely caramelized, remove from pan into medium bowl. Coat the same pan with oil again and add minced garlic, sun-dried tomatoes, spinach, 1/2 teaspoon salt, 1/2 teaspoon pepper and basil. Cook, stirring occasionally, until garlic is fragrant and spinach is wilted. Add this mixture to the same bowl with the onions.

4. Add goat cheese and cream cheese to the same bowl with the vegetables and mix well. Stuff each pork loin generously with this mixture.

5. Oil pan one more time. Generously salt and pepper both sides of pork and add to hot pan 3 pieces at a time. Cook about 5 minutes on each side, until golden brown on the surface and cooked all the way through.

This is maybe one of my favorite pork recipes of all time. I find that pork can be pretty bland, but the sharpness of the goat cheese and sun-dried tomatoes paired with the sweetness of the garlic paste and caramelized onions add the perfect layers of flavor. Enjoy!

Cheddar Cauliflower "Biscuits"

We don't eat much bread in our family. And I'm just gonna go ahead and admit that it's kind of annoying. It certainly isn't because it isn't delicious. It's just because I don't like serving up all those empty, simple carbs. I sure wish that somehow suddenly a giant loaf of rosemary bread dipped in balsamic-laced, roasted garlic-infused olive oil would magically become health food. But alas. I don't see it happenin'.

So. We eat some of that amazingly fragrant rosemary bread occasionally--for special occasions and when we've been super disciplined and deserve a little splurge (Or ok--a pretty big splurge. Whatever. Stop judging me for wanting all of the rosemary bread.)

But most of the time, I try to avoid such things. So a little treat like this--even thought it really isn't a biscuit at all--can sometimes be just the right bite to make us not miss those carbs so much. 

Ingredients:

2 cups finely grated or processed raw cauliflower

1 large shallot, finely minced

2 garlic cloves, finely minced

1 large jalapeno, finely minced

2 eggs, beaten

2 tablespoons butter, melted

1/3 cup grated Parmesan cheese

2 cups shredded sharp Cheddar cheese

1/2 teaspoon salt

1/4 teaspoon freshly ground black pepper

1/2 teaspoon baking powder

1/8 cup coconut flour

Ingredients:

1. Preheat oven to 375 degrees.

2. In a medium bowl, combine cauliflower, shallot, garlic, jalapeno, eggs and melted butter.

3. Add cheeses and mix well.

4. Stir in salt, pepper, baking powder and coconut flour and combine well.

5. Spray muffin tin with nonstick spray and combine mixture evenly into 12 cups.

6. Bake at 375 degrees for 30 minutes or until firm and golden brown.

These are delicious served as a stand-alone side dish with just about any meal, but my favorite way to serve them is with a saucy meat dish like barbecued pulled pork or slow-cooked beef roast. 


Meaty Lasagna

Today is my youngest daughter's birthday, and this is one of her all-time favorite meals, so it was the obvious choice for today. :-) Happy Birthday, Grace! 

I wonder how many lasagna recipes exist. Surely the count is into the millions by now. And I bet most of them are perfectly scrumptious. If you already have one you love, I'm not suggesting you abandon it. Just offering my favorite for those who might be still looking.

These are some of the reasons this recipe is my favorite: 1. It is actually very easy to make, which is not always the case with lasagna. 2. It is so hearty and meat-filled that you can feed a pretty significant dinner crowd with just one tray. 3. It is easily adaptable to a low-carb meal by simply swapping zucchini strips for noodles and not losing any flavor at all. (Honestly, can we all agree that the noodles just carry the meat and cheese to your mouth?) 4. It is excellent for making ahead of time (or making several trays at a time) and storing in the freezer for a super quick homemade meal later. 5. It is Yummy! This recipe is a favorite of my entire family and a whole long list of my friends. It is probably my most-requested meal. If you don't already have a tried and true favorite, try it and see what you think!

Ingredients:

1/2 pound lasagna noodles (or 2 zucchini thinly sliced in long ribbons)

1 pound lean sweet turkey Italian sausage

1/2-1 pound lean ground beef (I personally think there's no such thing as too much meat in this recipe, so I tend to go with the full pound.)

1 medium-large onion, chopped

2 cloves garlic, minced

1 can (28oz.) chunky crushed tomatoes

2 cans (6 oz. each) tomato paste

2 teaspoons coconut sugar

2-1/2 teaspoons salt, divided

1-1/2 teaspoons dried crushed basil

1/4 teaspoon cracked black pepper

1 container (15 oz.) part-skim ricotta cheese

1 egg, beaten

1 tablespoon Italian seasoning

4 cups shredded mozzarella

3/4 cup grated Parmesan

Instructions:

1. Boil noodles according to package directions or slice zucchini length-wise using mandolin. Set aside.

2. In large skillet over medium heat, brown beef and Italian sausage with onions and garlic until vegetables are tender and meat is no longer pink. Drain. Return meat mixture to pan and add tomatoes, tomato paste, coconut sugar, 2 teaspoons of salt, basil and pepper. Bring to boil over high heat. Reduce heat and simmer uncovered for 20 minutes.

***Hey, can I show you a fun trick for getting tomato paste out of the can? Run your can opener around the top *and* bottom of the can, then use the bottom lid to push out the paste. No more trying to dig it out of the corners with a spoon.

3. In small bowl, blend ricotta, egg, Italian seasoning and remaining 1/2 teaspoon salt.

4. Preheat oven to 375 degrees.

5. Spoon 1-1/2 cups meat sauce into bottom of 13x9-inch baking dish. Layer 1/3 each of noodles (or zucchini), ricotta mixture, meat sauce and mozzarella into dish. Repeat twice. 

6. Cover with foil and bake for 25 minutes. Remove foil, sprinkle Parmesan over top, and bake an additional 20 minutes or until heated through and cheese is golden and bubbly. Let stand for at least 10 minutes before cutting. (Don't worry. It will stay molten lava hot much longer than that.)


Cauliflower Crust Pizza

Alright, listen. I'm not about to sit here and tell you that this recipe will satisfy every single reason you eat pizza. Sometimes you just really need Papa John's thin crust Hawaiian BBQ pizza delivered to your front door. I get it. I really do.

However--if you are like me (I hope you're not, but if you are...), you just can't eat take-out pizza all the time. It's delicious for sure, but it's difficult to stay healthy if this is one of your go-to meals. So. Here's a thought. Save the take-out for every now and then and master this delicious alternative which will satisfy at least most of the reasons you enjoy cardboard box pizza. 

Ingredients:

2 cups cauliflower, very finely grated or processed in food processor

2 eggs

2 cups freshly grated cheese in your favorite combination. (I typically use some combination of mozzarella, Parmesan and sharp cheddar, but I have made this with cheddar only and mozzarella only, and those were equally delicious)

2 tablespoons Italian seasoning (or any combination of your favorite dried herbs. Basil, oregano, and parsley are some of my favorites)

Roasted garlic paste (I keep this in my fridge ALL THE TIME. It makes almost everything more delicious. Recipe here.)

Instructions:

1. Preheat oven to 450 degrees.

2. Spray metal pan or baking stone (preferably stone) with nonstick cooking spray. 

3. In medium bowl, combine cauliflower, eggs, cheese(s) and spice(s) and mix well. Press evenly onto pan or stone, about 1/4" thick. Bake for about 7 or 8 minutes, until it just begins to firm. Remove from oven and gently spread garlic paste over crust. (The paste should be soft enough to almost melt right into the crust.) Put back in oven and bake for an additional 5-7 minutes, until golden brown.

This can be topped with any of your favorite sauces and toppings, and then just place the pizza back in the oven until toppings are warmed and cheese is melted.

One note: Most likely, you will need to eat this with a fork rather than pick it up like a typical slice of pizza, but the flavor is so satisfying, and this is so much more nutritious than dough-crust pizza.

Almond Meringue Bark

Ok, I have a confession. I really wish that I could eat dessert after every single meal, or sometimes even instead of some meals. Not gonna lie about it. Specifically chocolate. Like all of the chocolate. Almost any kind of chocolate or even several different kinds all at the same time. I don't understand on any level the phrase "too chocolatey." There is no such thing. 

Sadly, I don't eat dessert with every meal (or even every day), because I'd rather not weigh 600 pounds, which I surely would if I ate as much chocolate as I wanted to. But simple, lighter recipes like this one help me satisfy my sweet tooth pretty often without wrecking a healthy eating plan. 

Almond Meringue Bark

Ingredients:

1/2 cup slivered almonds, divided (*pre-toasted if you prefer. See note below.)

1 teaspoon plus 1/4 cup coconut sugar

4 egg whites

pinch salt

1 tablespoon cocoa powder

1/3 cup mini chocolate chips

Instructions:

1. Preheat oven to 250 degrees. Line a baking sheet with parchment paper.

2. Add 1/4 cup almonds and 1 teaspoon coconut sugar to food processor or blender and process until consistency of cornmeal. Chop remaining almonds and set both aside.

3. In a separate bowl or in a stand mixer, beat egg whites and salt until soft peaks form. Combine 1/4 cup coconut sugar and cocoa powder in small bowl and slowly add to egg white mixture a tablespoon or so at a time (while continuing to beat) until it reaches stiff peak stage. Do not overbeat.

4. Gently fold in almond meal until well-incorporated, being careful not to flatten the meringue.

5. Spread the mixture onto lined baking sheet in a thin layer and sprinkle chopped almonds and mini chocolate chips evenly over the top.

6. Bake for 1 hour. Then turn off oven (do not open) and allow meringue to dry for at least an additional hour as it cools.

7. Remove from oven once cooled and crisp, and break into pieces to serve.

*When I make this, I like to toast my almonds in a dry pan before processing/chopping because I like the added flavor, but this is completely optional. The recipe works fine either way.

It's also important to note that any level of moisture is a huge enemy of this recipe. It's best to bake it on a clear, dry day, and it's critical to store it in an airtight container. It will become chewy if it picks up too much moisture from the air. But if that does happen, don't throw it away. You can put it back in the oven at about 200 degrees for about 30 minutes (and then turn off oven while it cools and dries out again) to get it back to crispy. Just please don't serve it chewy or soggy. That would be such a sad day. ;-)

(Adapted from a recipe by Claire Robinson on 5-Ingredient Fix)

Shepherd's Pie

Today is my oldest daughter's birthday. Happy Birthday, Macy! So in honor of her, I'm posting one of her favorite recipes. She absolutely loves this stuff, and for a dish with such a wide range of typically questionable ingredients, it is actually a favorite for my entire family. Bonus!

This recipe is a lifesaver. Because no one in my family is extremely picky, but everyone is picky about something entirely different. If I had to avoid every item that just one person in my family doesn't care for, the list would become rather long pretty quickly. Shepherd's Pie to the rescue! For 2 reasons, this works well even for the pickiest eaters. 1. There is so much going on in here that you can add small portions of non-favorite ingredients and get away with it since they're not that prominent. (Hush. You know you do it too. What they don't know..., right?) And 2. The recipe is entirely adaptable. You can use just about any combination of meat and veggies your family loves best as long as they are in pretty similar ratios to the recipe posted below. Experiment and see what you come up with!

Ingredients:

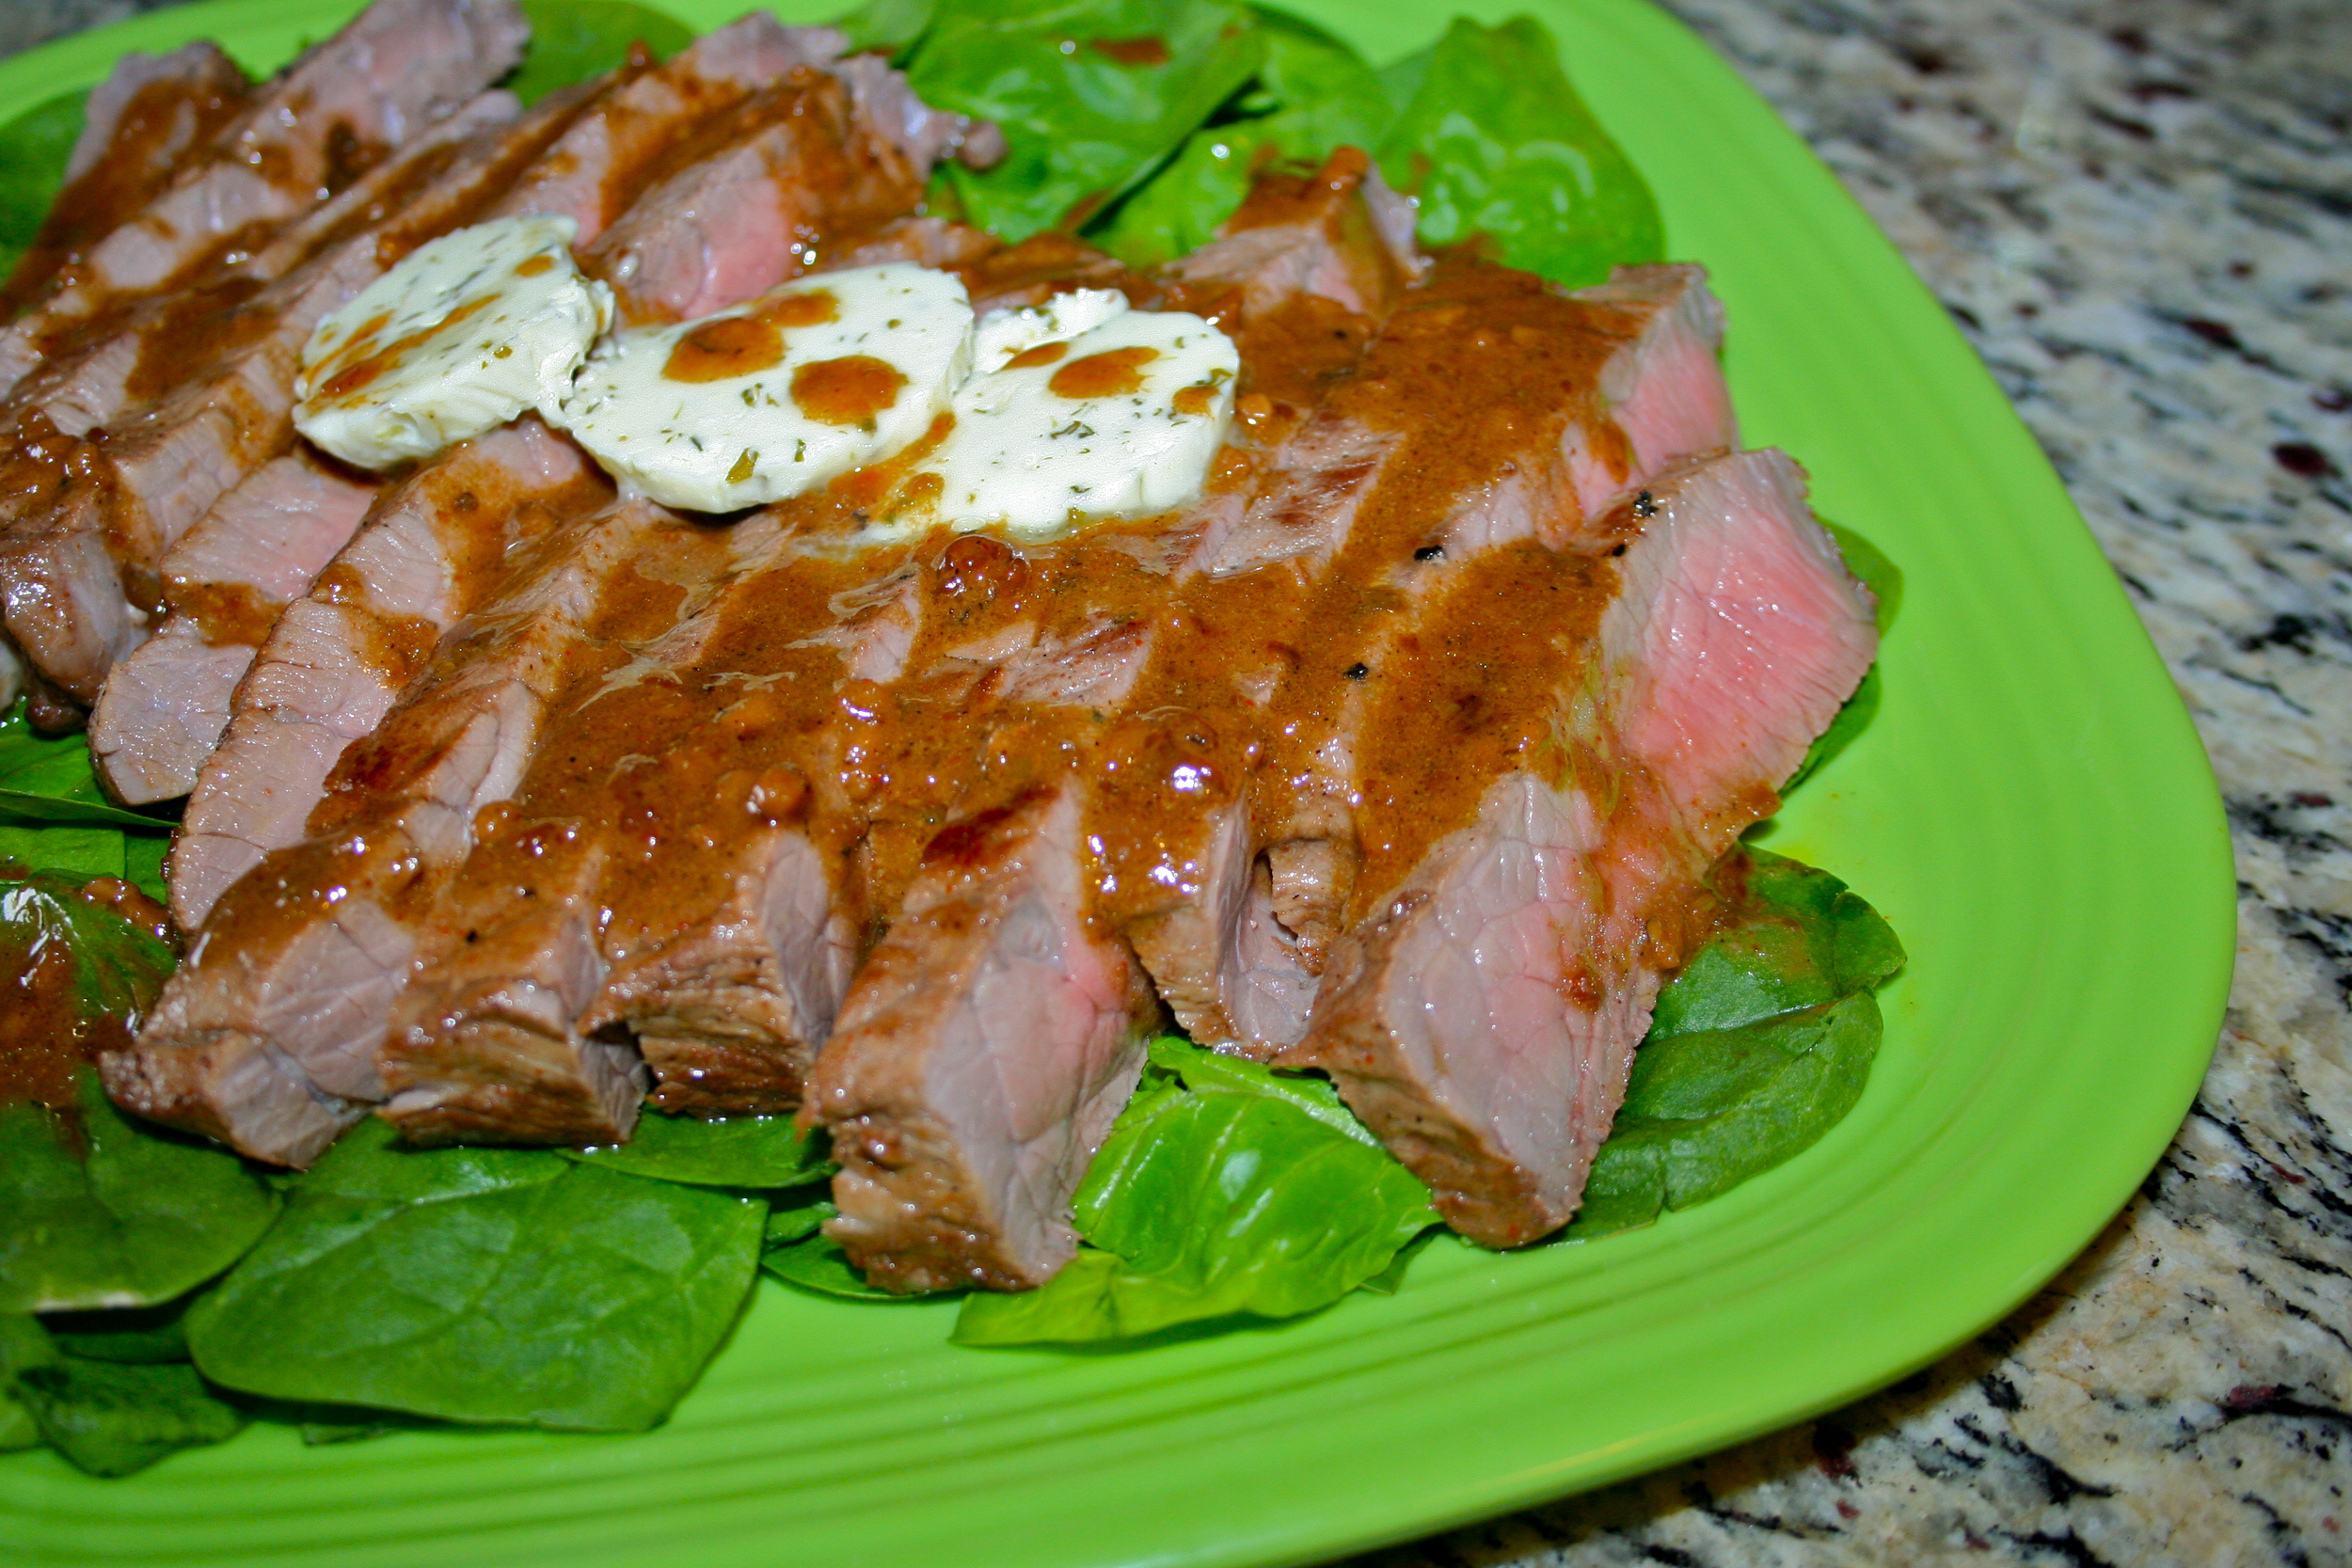
1 pound meat, ground or shredded (you can even use pre-cooked leftovers)

a good drizzle of olive or coconut oil

2 generous sprinkles of Tony Chachere's Creole Seasoning

6 cups of your favorite combination of vegetables for the filling, chopped (I usually use 2-3 cups onions, 1-1/2-2 cups carrots, 1/2-1 cup mushrooms, and 1 cup or so of petite peas)

2 teaspoons chopped fresh herbs, or 1 teaspoon dried (My favorites are basil, rosemary and thyme, but I've used oregano and Italian seasoning too. You may want to vary it depending it on what kind of meat you use.)

1-1/2 tablespoons coconut flour (You could certainly use regular flour here if you prefer. I just like the health benefits of coconut flour.)

1 cup low-sodium broth (Beef adds the richest flavor, but really any kind will work.)

1 teaspoon salt

freshly ground black pepper to taste

2 large potatoes* (see note below)

1 medium head cauliflower, chopped into florets

2/3 cup 1% milk

2 tablespoons butter

Instructions:

1. Brown meat with a sprinkle of salt and black pepper in nonstick pan until just cooked through. Drain and set aside. (Obviously skip this step if you're using pre-cooked leftovers, but make sure they're ground or chopped into pretty small pieces.)

2. Heat the oil in the same pan over medium heat. Add onions, carrots and any other firm or dense veggies you've chosen, and cook until softened, about 7-10 minutes. Increase heat slightly and add mushrooms and herbs. Cook an additional 7-10 minutes, stirring regularly, until liquid from mushrooms has evaporated.

3. Return meat to pan and add flour. Incorporate well, and then add broth, 1/2 tsp salt and a dash of pepper. Simmer until slightly thickened, being sure to scrape up any browned bits from the bottom of the pan as you stir.

4. Add peas if you're using them (or any other tender veggies like spinach, etc.) Season with Tony Chachere's to taste.

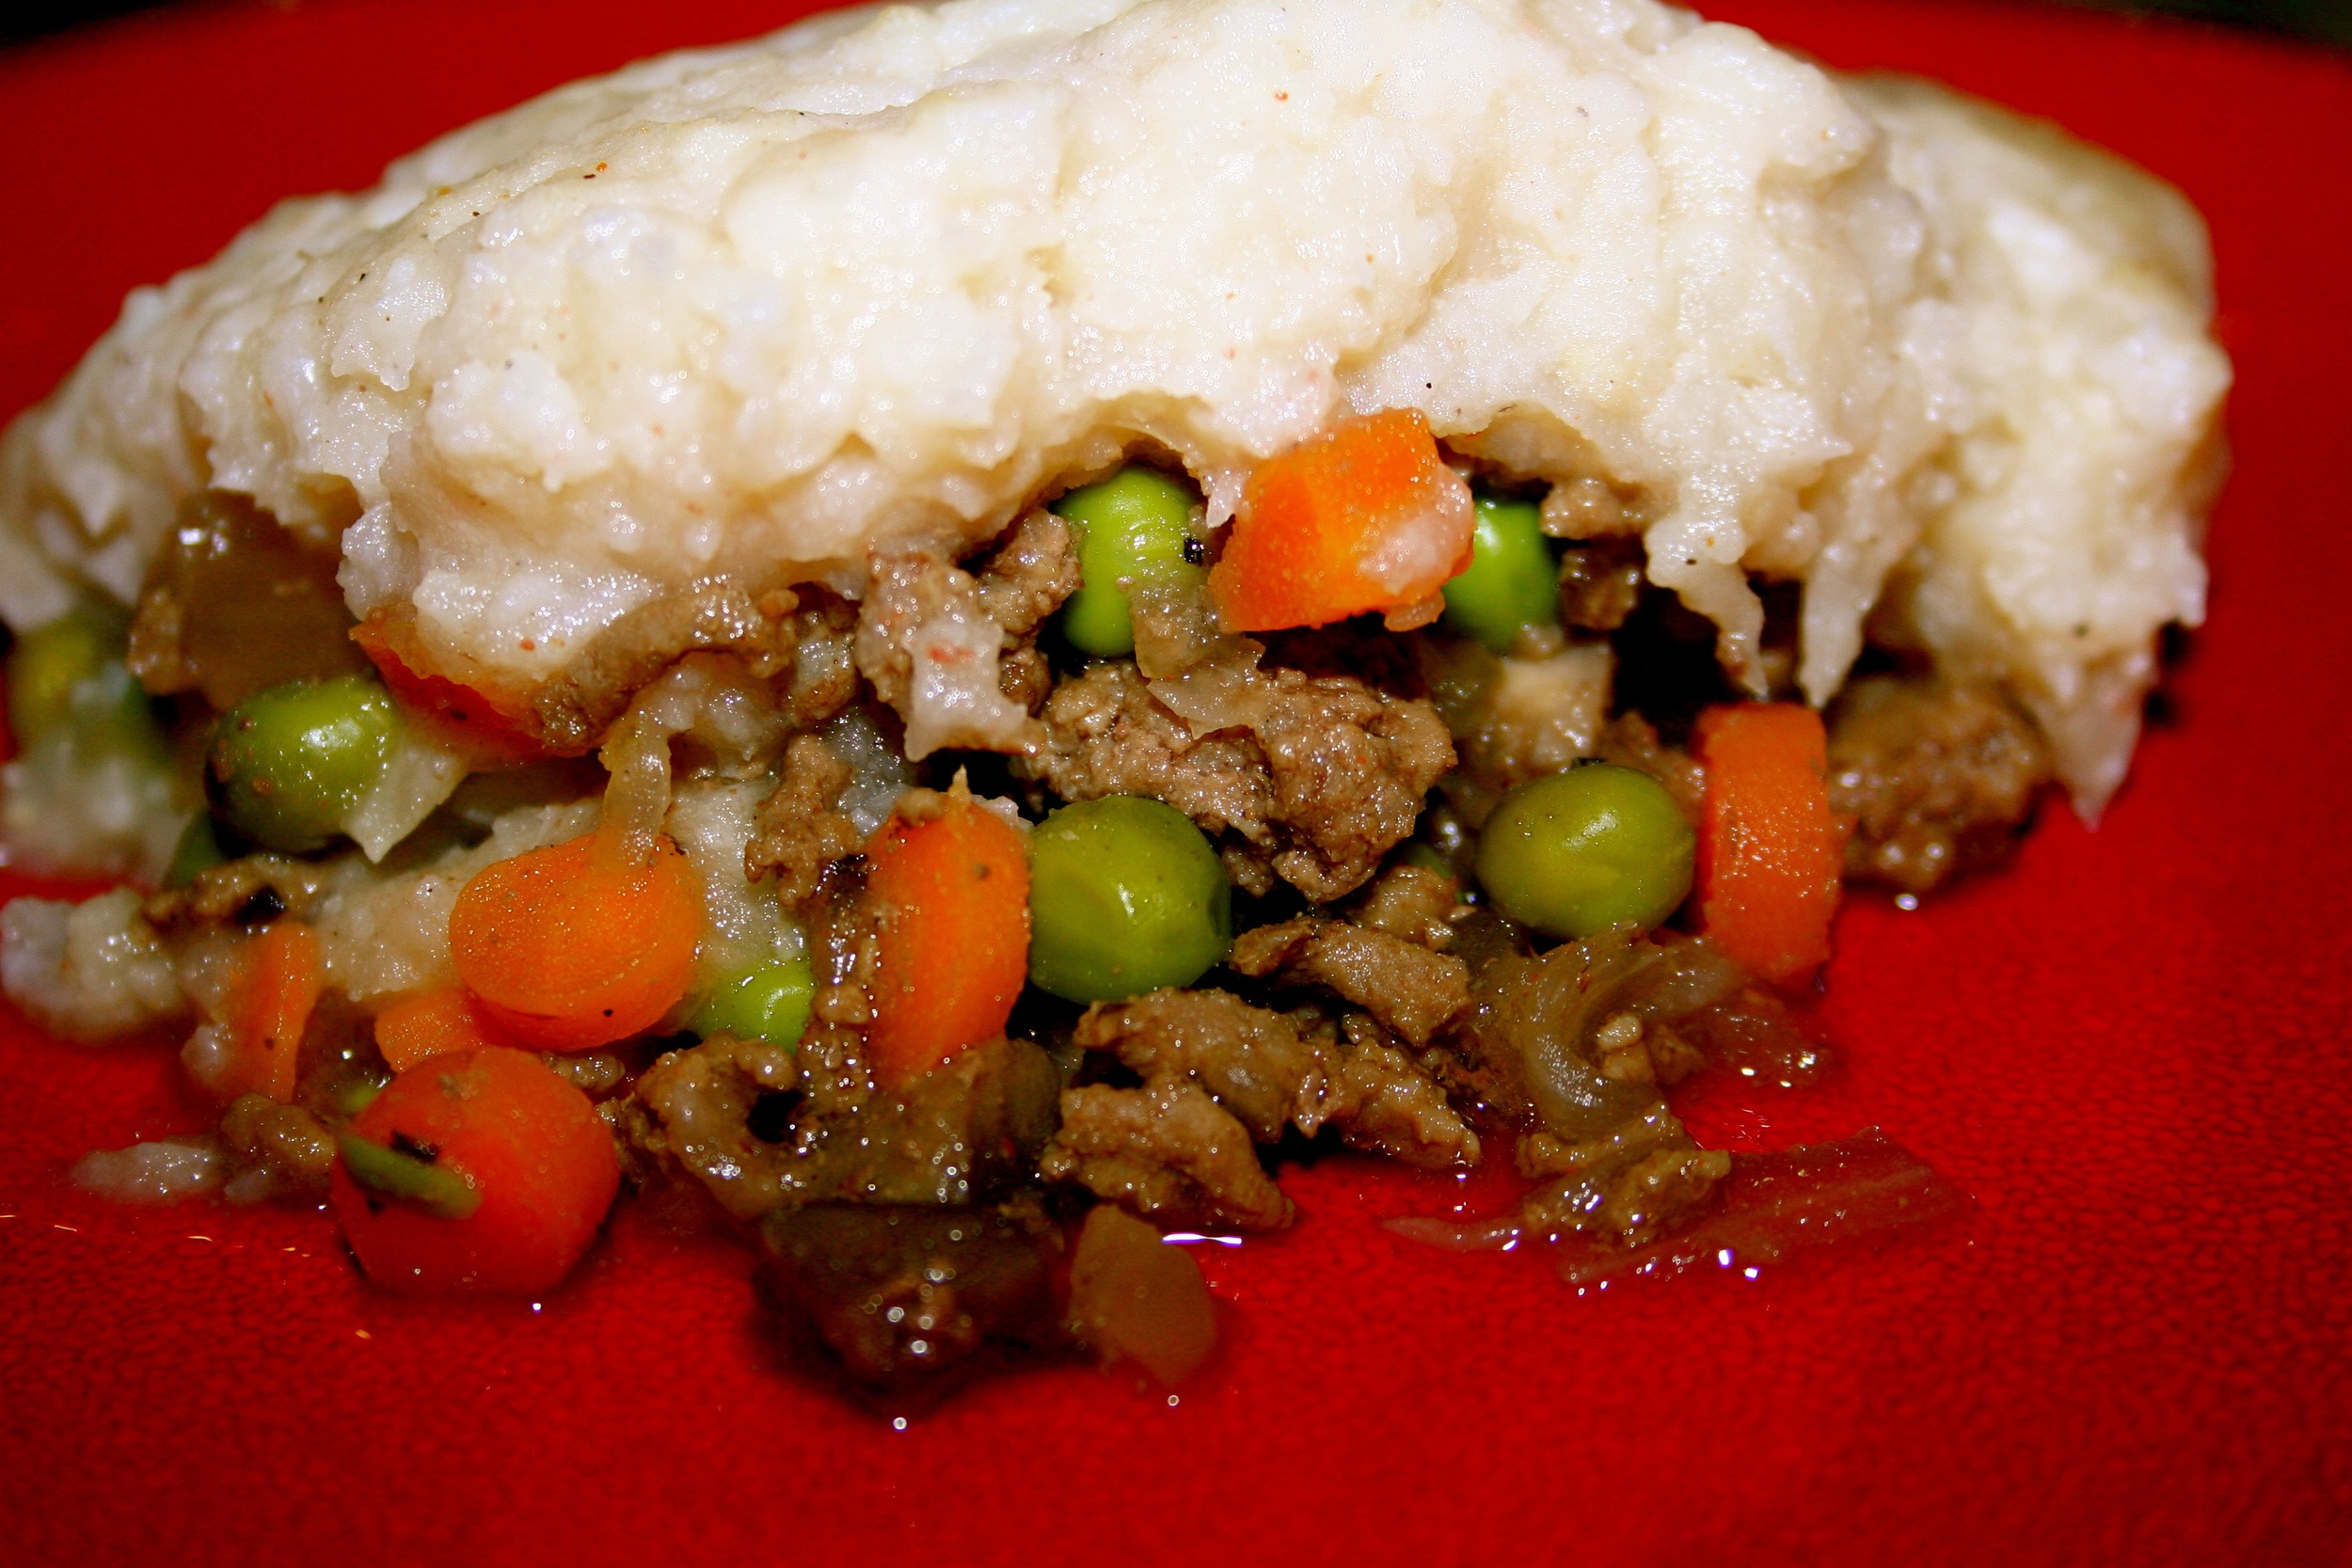
5. Pour mixture into 9x12 baking dish.

6. Preheat oven to 350.

7. Peel and coarsely chop potatoes. Steam for 10 minutes. Add cauliflower and steam an additional 15 minutes or until potatoes and cauliflower are easily pierced with a fork.

8. Mash potatoes and cauliflower together until smooth.

9. Heat milk, butter, remaining half teaspoon of salt and a dash of pepper and stir into cauliflower mixture. Season with Tony Chachere's to taste.

10. Spread cauliflower mixture over meat mixture and bake 20-30 minutes or until heated through and slightly browned on top.

*Special note about potatoes: Adding a couple potatoes to the cauliflower adds just enough potato flavor and texture for even the pickiest of eaters, but if your family enjoys cauliflower, you can delete the potatoes completely, and the resulting dish is every bit as delicious and even more healthy.

Since there are plenty veggies incorporated right into this dish, it can easily stand alone as a complete meal on a busy family night, but just adding a simple green salad on the side makes it perfectly company-worthy. Also: this is a fantastic meal to prepare ahead and freeze or refrigerate until needed. Just bake it a little longer if it's going into the oven cold or frozen. It's also really fun to make in individual foil containers to keep on hand for families on the go who might need to eat at different times throughout the day or to bring over and stock the freezer of a new Mom who almost definitely won't have time to make this for herself but just might need to pop one into the oven at 2am right after she's nursed a hungry baby and is now starving herself. The possibilities are endless! Enjoy!